Red Devil
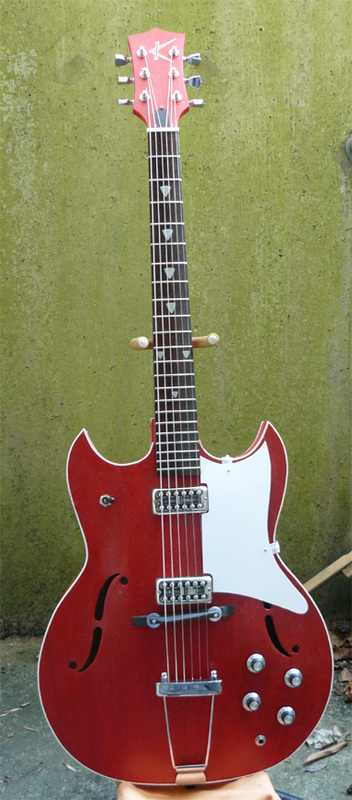
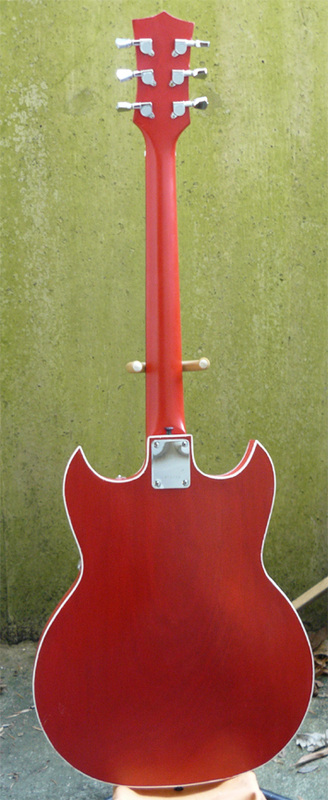
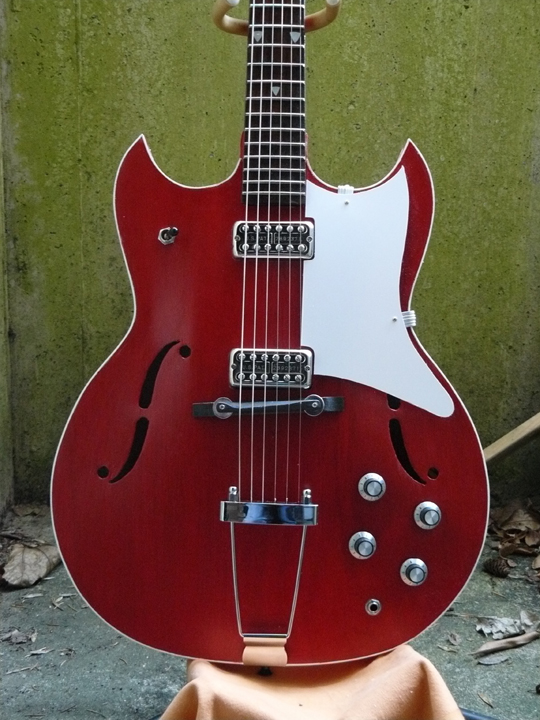
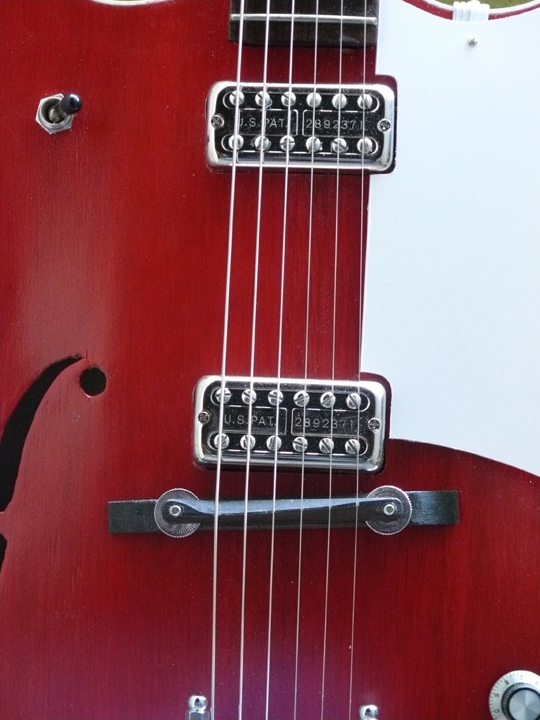
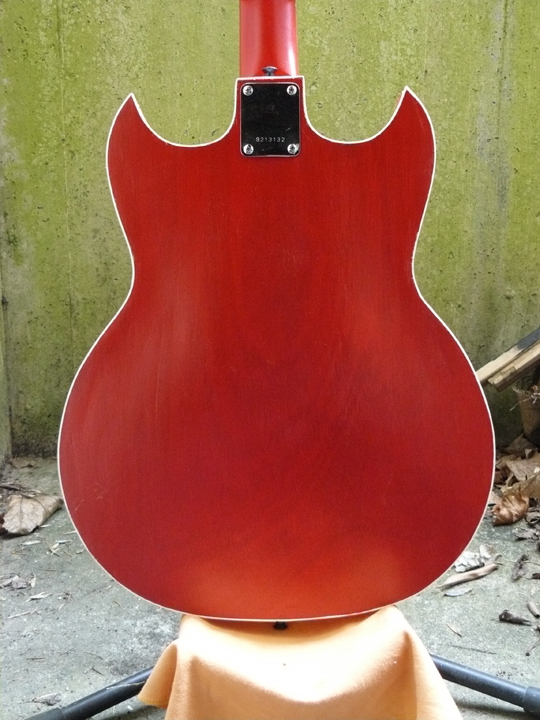
This is based on the Kay Red Devil guitars. After numerous failed attempts at trying to own an original I decided it was time to make my own. I obtained the tracing from a friend and went to work. Body is composed of plywood sides and a mahogany top with veneer edging. I obtained all the body materials for this at my local wood shop. Unlike a conventional vacuum press used to form the body, I approached it by soaking the plywood in hot water and drying it over a form. The headstock on the neck was also trimmed down, built up and veneered. I opted for some Gretsch Filtertrons. A great many thanks to those at the Reranch forum for there help and knowledge as this was a first time hollowbody build for me. Finish is a rustoleum red with a satin lacquer varnish, grain is filled with an epoxy.
|
|
|
|
|
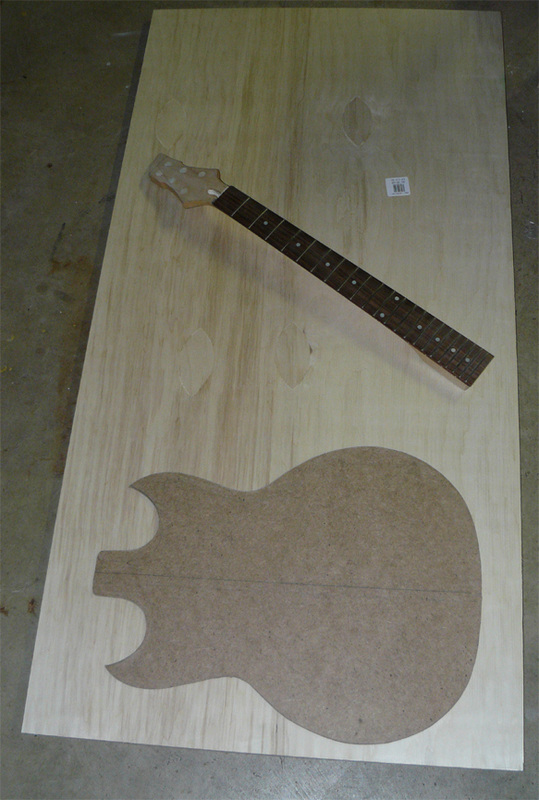
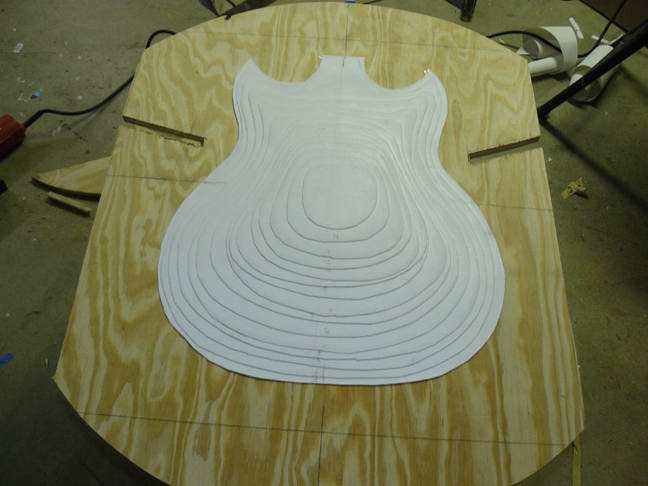
masonite template, plywood and guitar neck
|
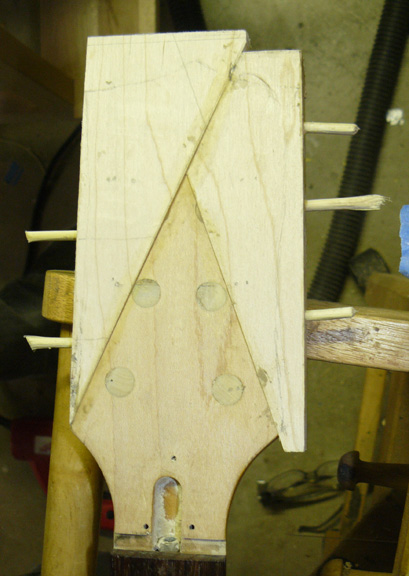
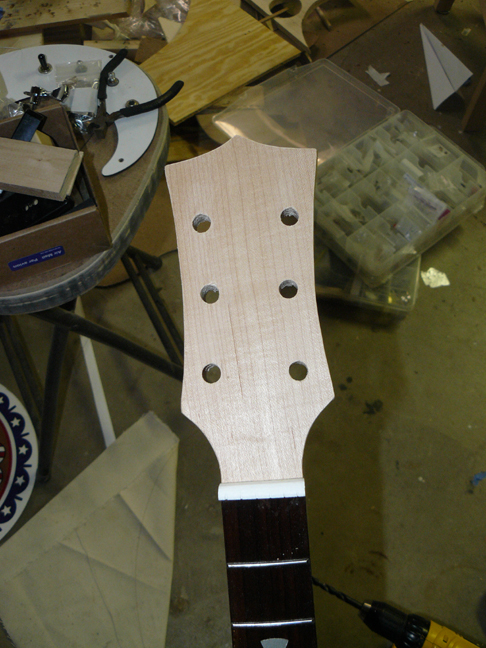
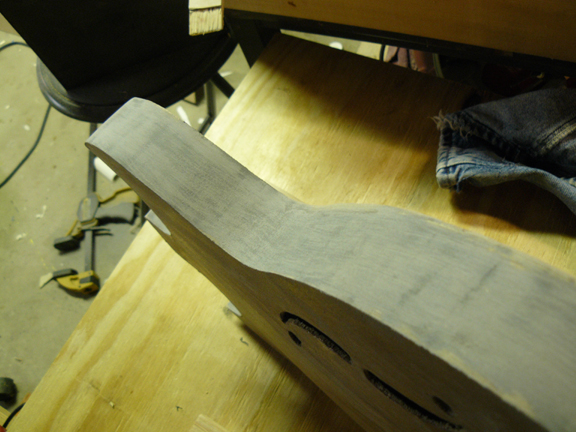
Headstock trimmed with maple sides added with dowels.
|
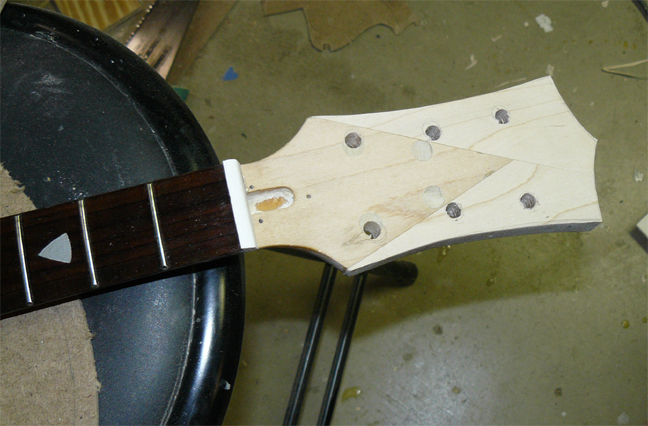
trimmed and tuner holes drilled out.
|
veneer applied with titebond glue and clamped between a sheet of plexiglass.
|
|
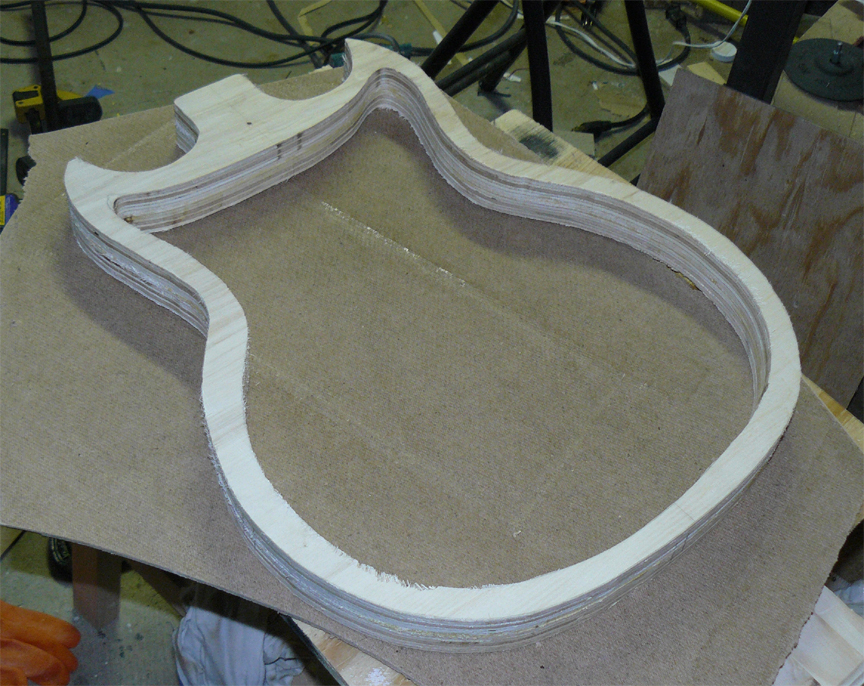
plywood sides glued and cut
|
the form. Multiple layers of 4 ply paper card stock glued together and coated with an acrylic for waterproofing.
|
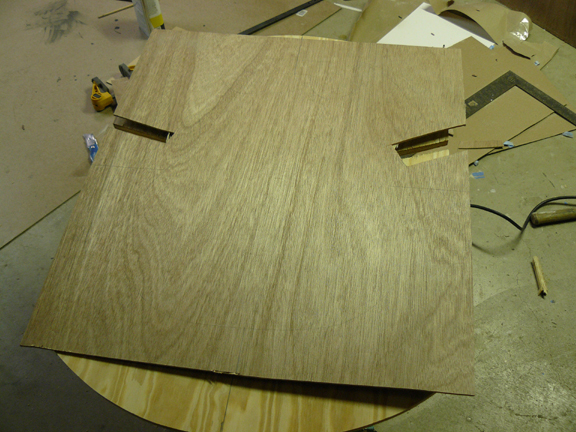
plywood lined up and checked before soaking. Notches cut in side for clamp access.
|
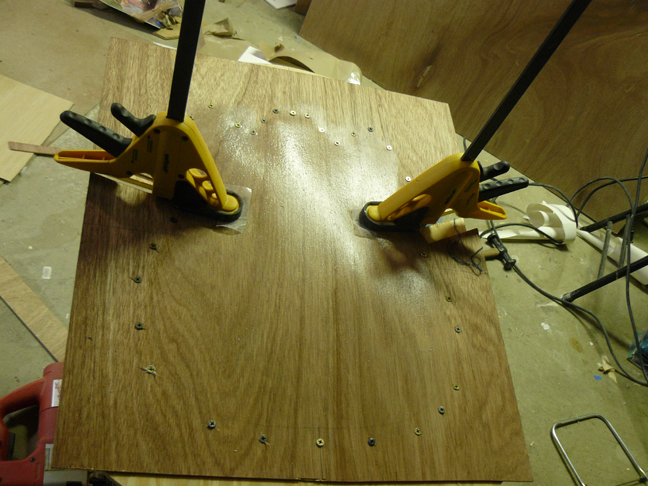
plywood soaked, clamped and excess screwed down.
|
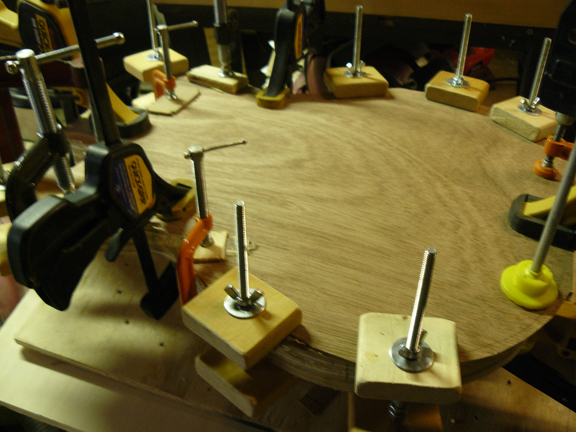
after plywood is left to dry on form over night, its then removed and then glued to the plywood edges. This is the back
|
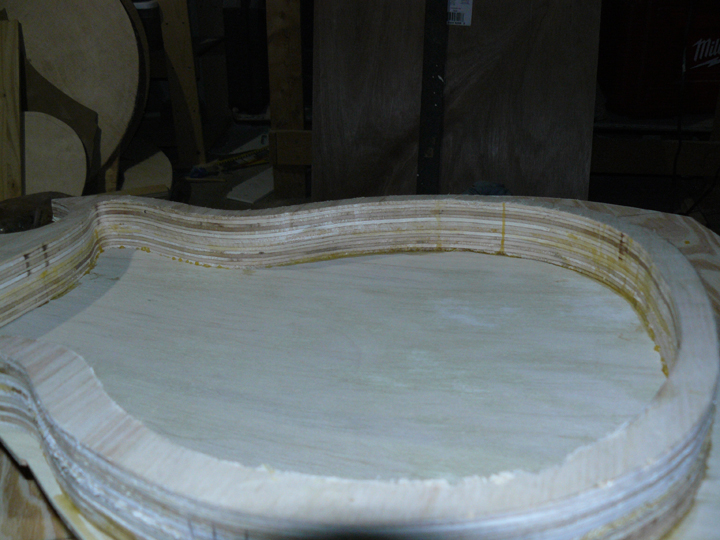
another view of the inside once the back has been glued, note the excess on the sides. This will be trimmed.
|
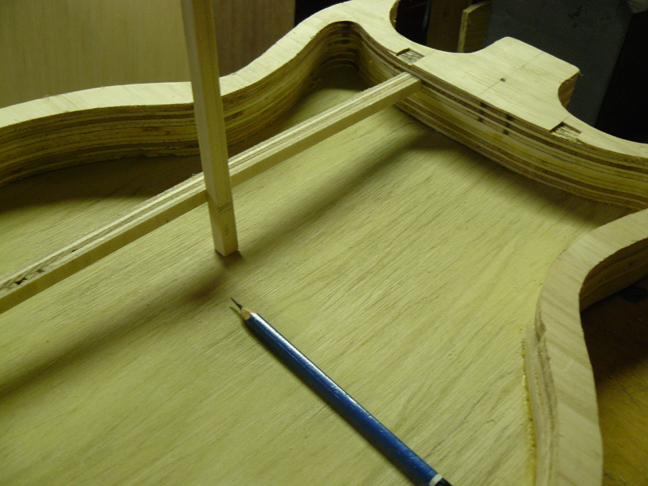
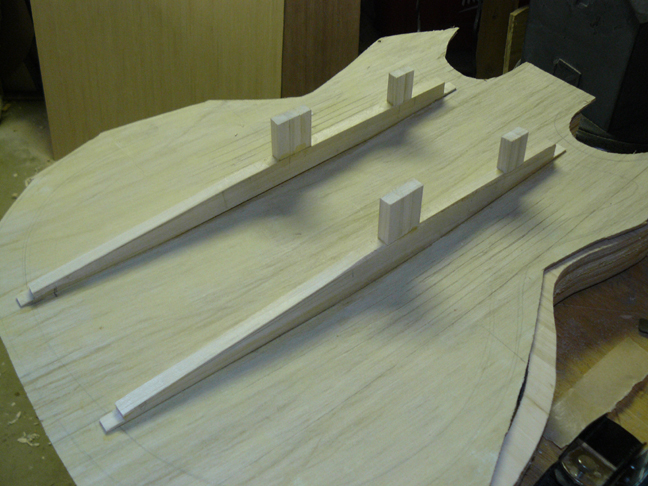
after the top has been formed and dried the same way, measurements are taken for bracing height and length.
|
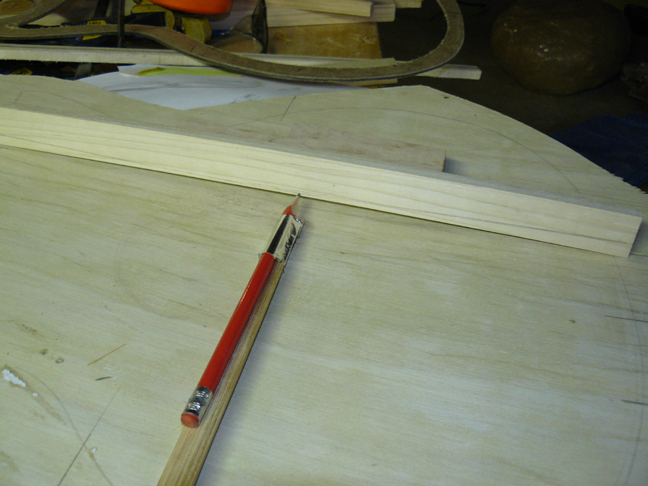
brace traced to obtain contour of inside of curve. Wood is poplar.
|
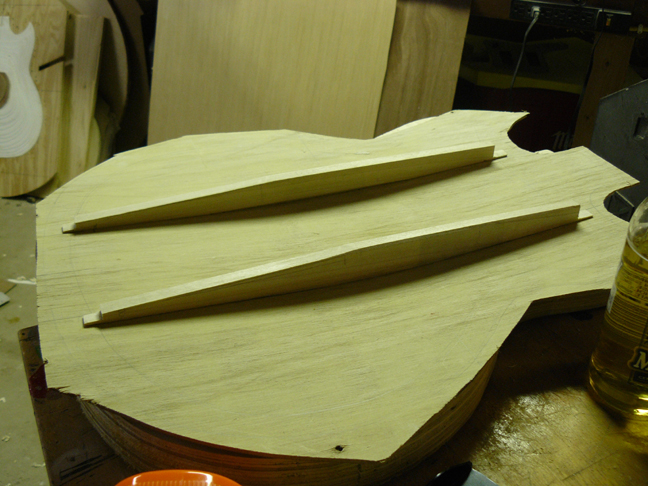
braces cut and glued to the top. Note the notches on the ends, these will rest in the notches cut into the plywood.
|
another view of the trusses as they will look on the inside of the top.
|
sound posts added. These are placed near the neck and bridge location.
|

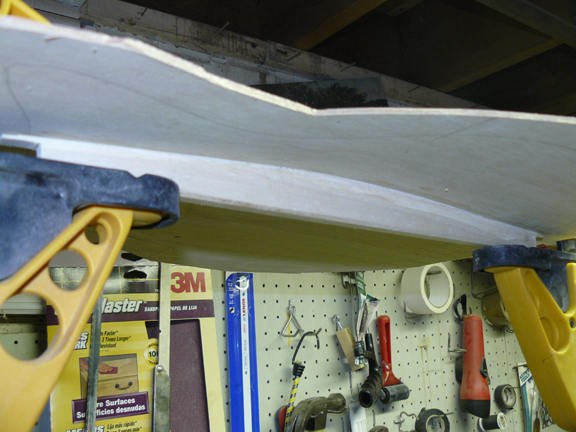
top glued onto plywood sides.
|
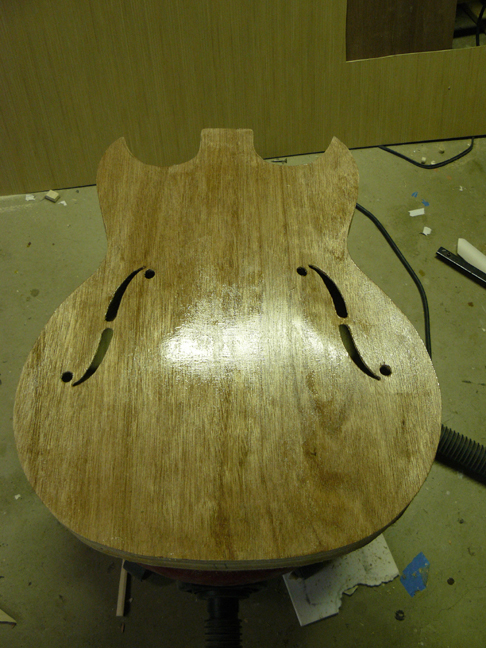
excess edges trimmed, f holes cut and first layer of epoxy applied with a credit card.
|
plywood edges filled with a two part epoxy before veneer added.
|

veneer edging applied using a heat gun and persuaded around the entire guitar.
|
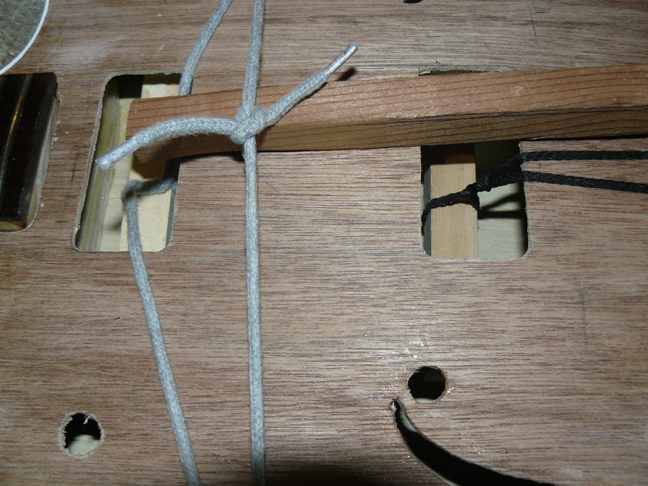
pickup holes cut and braces added for the filtertrons to be screwed into. Braces were pulled up and glued underneath by twisting a rope.
|
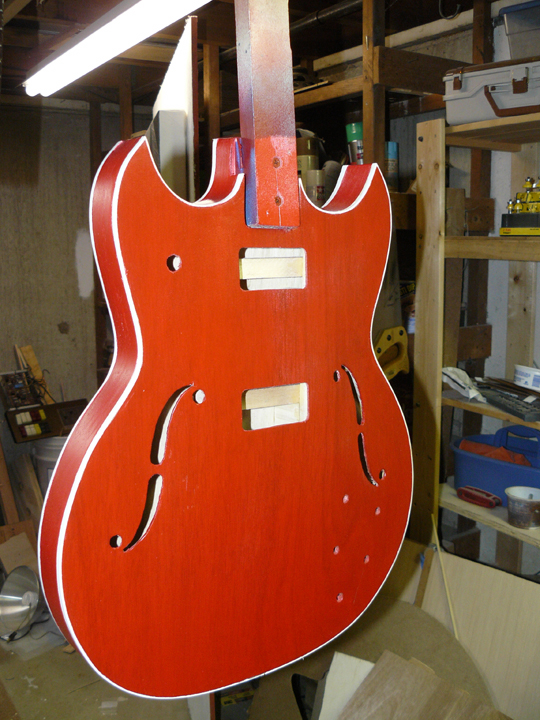
binding applied and body painted.
|
